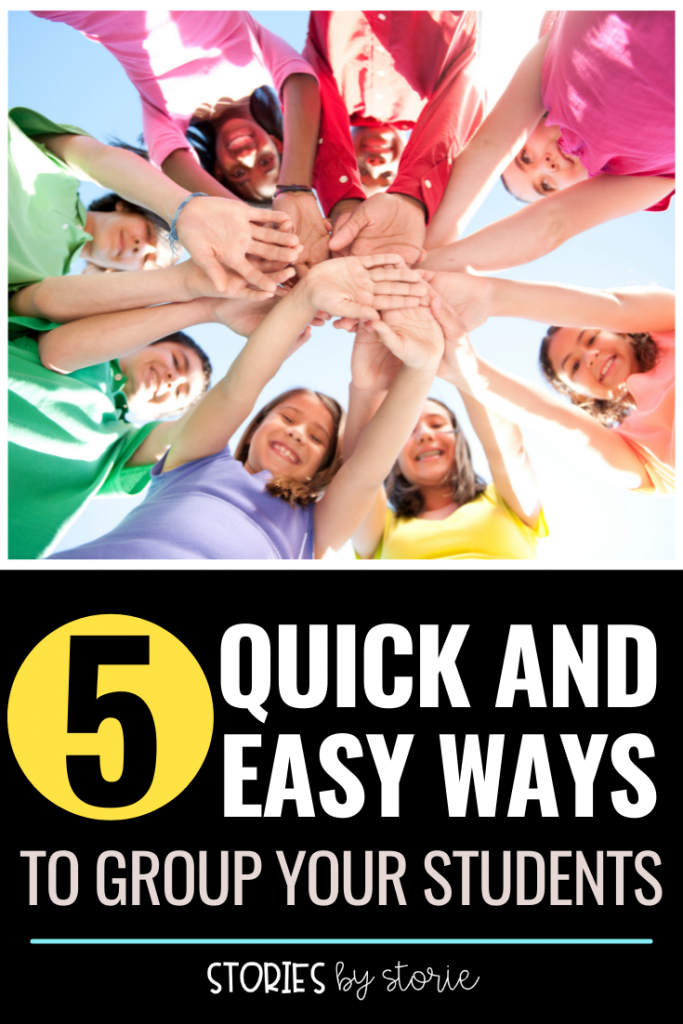
Have you ever asked your students to find a partner? I have and the same problems happened year after year. There is a way to make this process easier and more manageable. Here are five quick and easy ways to group your students using supplies you probably have in your school or classroom.

Ways to Group Your Students
Looking for some quick and easy ways to group your students? Here are some of my favorites.
Popsicle Sticks
Many classrooms already have Popsicle sticks (aka tongue depressors, craft sticks, etc.), which makes them a great tool for either picking partners or creating groups. This is a completely random way to partner students, so use it carefully!
I kept a jar of sticks with my students’ names on them. These were used to randomly call on students during a lesson or to share. When I needed to partner or group students, the jar of sticks were already close by and handy, so it was a no-brainer for me.
If you color your sticks, you have a couple of options. You can use sharpies, highlighters, or markers to color the sticks in groups of 4 (4 red, 4 yellow, etc.). You can pass out sticks or have students do a blind draw. Students must find a partner (or group) with a matching color. But, if you really want to throw your students for a loop, have them pick whatever color they want. You know that friends will make a plan from across the room so they end up with the same color. Then you throw your curve ball…tell them their group must be represented by 4 different colors.
Clock Partners
Clock partners (similar to Speed Dial Friends) is a management strategy that has been around for awhile and I have learned that not all teachers use clock partners in the same way. Here’s how I used it in my classroom as an option in which I still maintain a little control over who works with whom (and when).
First, you’ll need a paper for each student to record their partners on. Here’s an example:
This takes quite a bit of time to set-up, but it is a quick way to partner students up once it is finished. If you want to keep control over who partners with whom, have your students line up, but keep all of your most difficult students together at one end of the line (either front or back). Now fold your line in half so that your students are each facing a partner. It might look something like this in a class of 24 students (most difficult students are marked in red):

Have students record this partner’s name in the 1:00 time slot. Students 1 and 24 are partners, 2 and 23, etc. To find the next partner, keep one half of your class in place (the half with your more difficult students). The other half will slide one spot to the right (person on the end will walk around to the other side).
It might look something like this:

Have students record this partner’s name in the 2:00 time slot. Students 1 and 13 are partners, 2 and 24, etc. Continue until all slots are filled.
Not all classes come in neatly packaged numbers (as you know). If you have fewer than 24 students, you might not want to use all 12 time slots. You also might choose to make a time slot a free choice. If you have an odd number, the odd man out can write down your name. When a new student arrives, substitute the new student’s name in your place.
The next time you need students to partner up, just call out a time and students check their times, find their partners, and get started right away!
Deck of Cards
Most classrooms also have a deck of cards lying around, which makes this a great tool for creating partnerships or groups at random. A standard deck of cards has four numbers in four suits. Start by laying out the cards you will need. For a class of 24 students, you would pull out all of the aces, 2s, 3s, 4s, 5s, and 6s. Then shuffle and deal out the cards. If your activity needs pairs, students must match the number and color. For groups of 4, students must match numbers OR find a group where all four suits are represented, regardless of number.
Puzzle Pieces
This is another fun pair-up idea that takes more prep work, but can be tied into your academic content fairly easily. The first thing you need is puzzle pieces. I think the clipart variety work well because you can print them and add your own text. Here are some free puzzle piece clipart sets from Krista Wallden (Creative Clips) that are perfect for this project: Set 1 | Set 2.
So how do you tie this into academics? Working on synonyms? Write matching pairs on the puzzle pieces. If you’re working on multiplication facts, write the problem on one piece and the product on the other. By laminating the pieces first, you can write on them with a vis-a-vis marker and change them as frequently as you want!
If you have old puzzles lying around, take 2-4 pieces out of each puzzle that interlock. Flip them over and write the academic content on the backside and you’ll be all set!
Using puzzle pieces will create partners or groups at random. If you want to maintain a little more control over this process, print the puzzle pieces on different colors. Then choose to pass out the pieces and make sure certain students receive different colors.
Scrabble Tiles
Somehow I always have a Scrabble game (or a making words game) on hand for students to practice their spelling and sight words. It’s pretty easy to find pairs of letters you need in a matter of seconds.
If you want to up your game a bit, create 6, 4-letter words using the tiles. Then throw all of them into a bag, jar, or cup. Have students draw one tile each. Present the 6 words to your class and have them make groups by spelling out the words.
If you don’t have Scrabble tiles, but still want to try this, there are many Scrabble-like fonts you can download for free. Just type them into your program of choice, print, and cut them out.
I hope these ideas help you group your students in new ways.
If you’re looking for more classroom management ideas, try these: