


Long, long ago in a world when Pinterest didn’t exist, I stumbled across a teacher’s website. It was filled with bright, colorful photographs of her classroom. On the cabinets I saw an art project hanging. I was inspired to create my own version of the project and have been using it for years ever since.

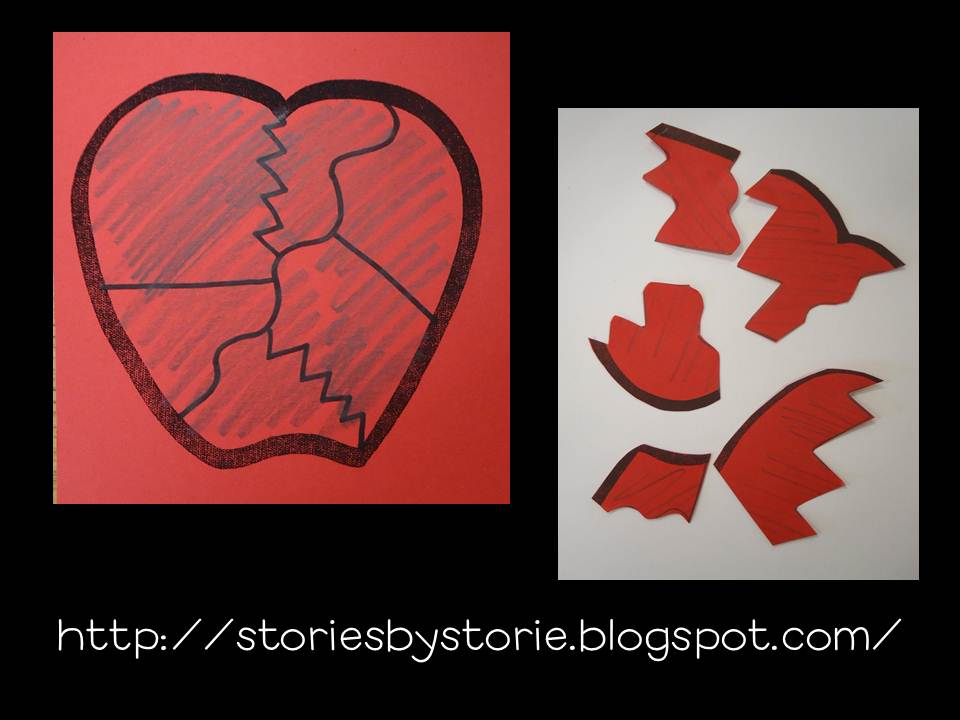
The students start with an apple template which has been printed onto red cardstock paper. The students lightly shade one side of the apple. (Later, during the gluing phase, students know they can only put glue on the side with pencil marks).

Then students use 4-6 lines to create a design across the apple (straight, zig-zag, and wavy work best). Students cut the apple into pieces.
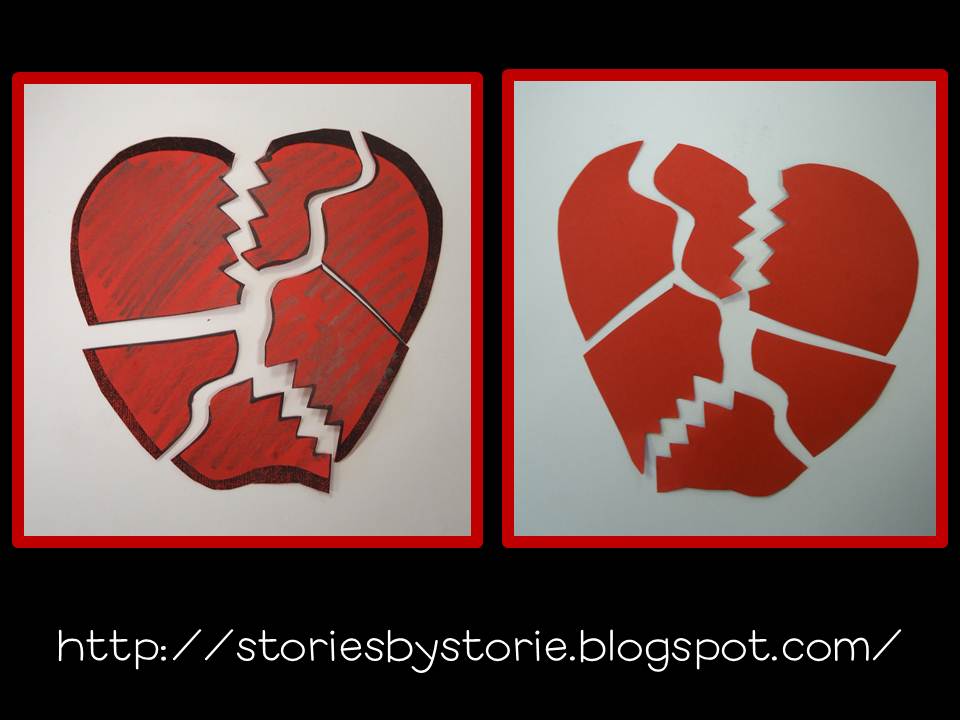
Students will put their puzzle back together with the shaded side up. With help, students will flip their apple over and create space between each piece of the apple.
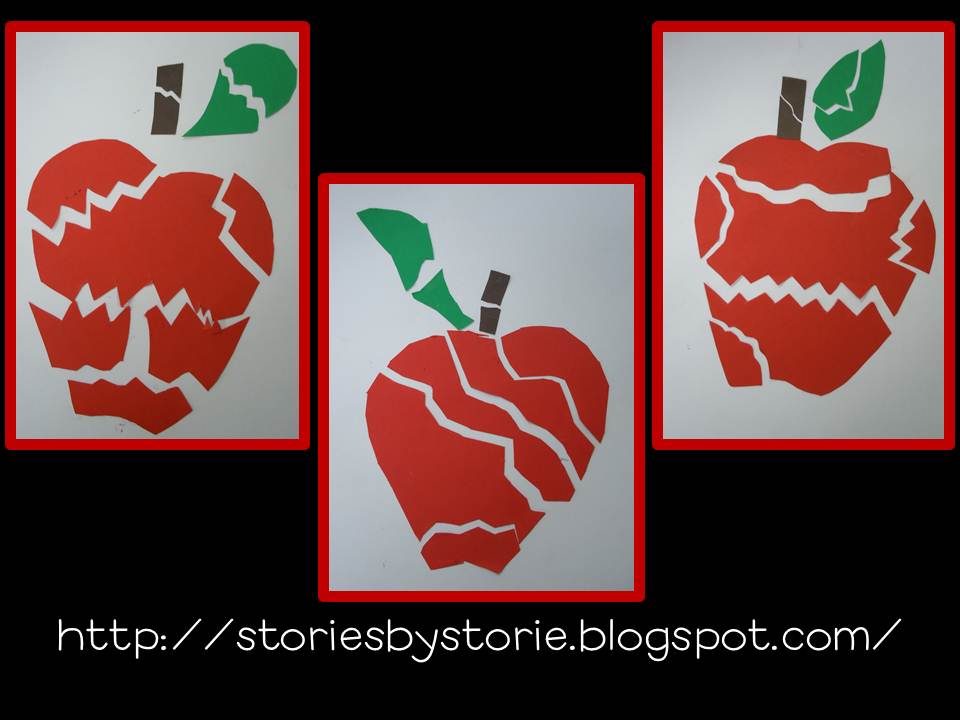
Students then glue down the pieces onto white cardstock. Students will freehand cut a leaf from green paper and a stem from brown paper. They will make one line design through each and glue down to finish their apples. Here are some examples of the finished product:
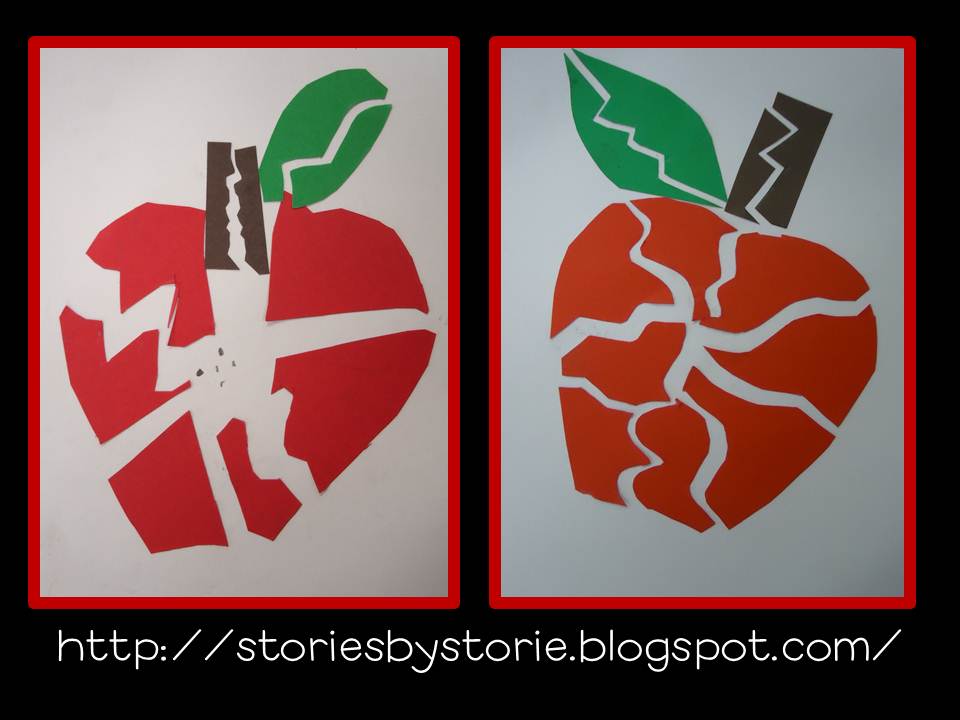
Notice the one on the left – the student put seeds on the inside 🙂
I’m linking up with Tara over at 4th Grade Frolics. Go see what other bloggers have been making:
You still have time to enter to win a copy of my Math Mania pack. Giveaway is now closed!


0 Responses
My class loves to play War with additon facts and Slap with multiplication. They love card games!
Your apples look great!
❀ Tammy
Forever in First
My kids love to play scoot with math facts!
kwelnicke@hotmail.com
My kids love to play 'around the world'.
Tania
My Second Sense
Love your apples! I will have to try that.
Janna
Fabulous Finch Facts