I am LOVING all of the black glue art projects that have popped up in my Pinterest feed over the past few months. So I decided it was time to give these projects a try with my own kids at home.
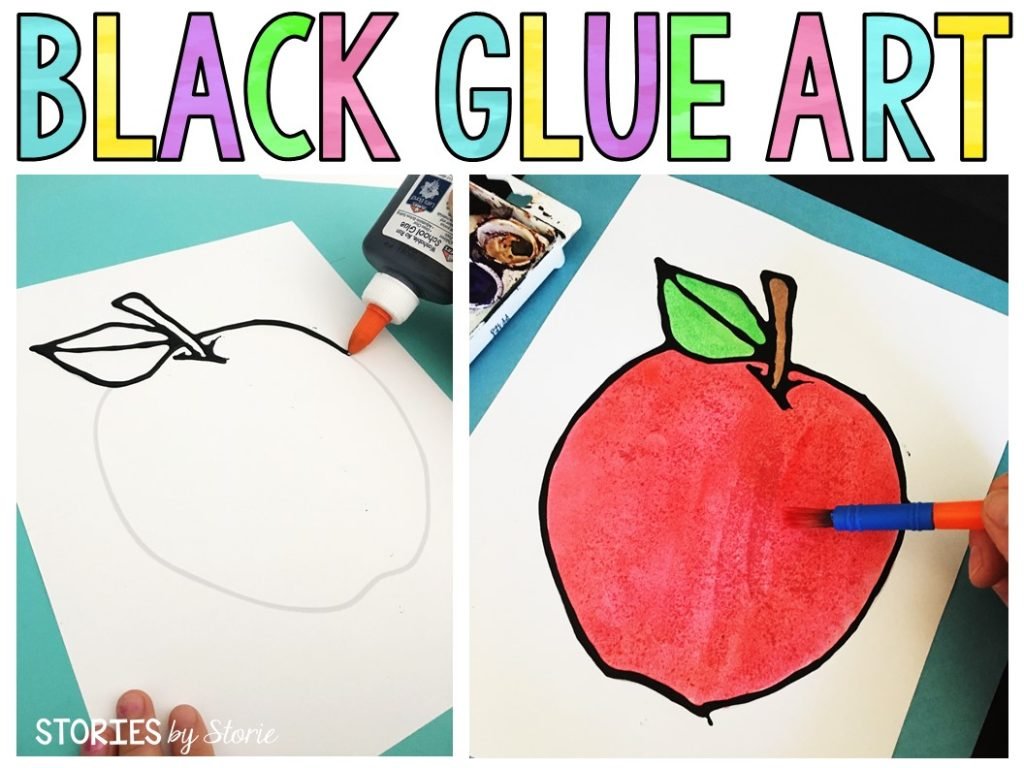
Black Glue Art Projects
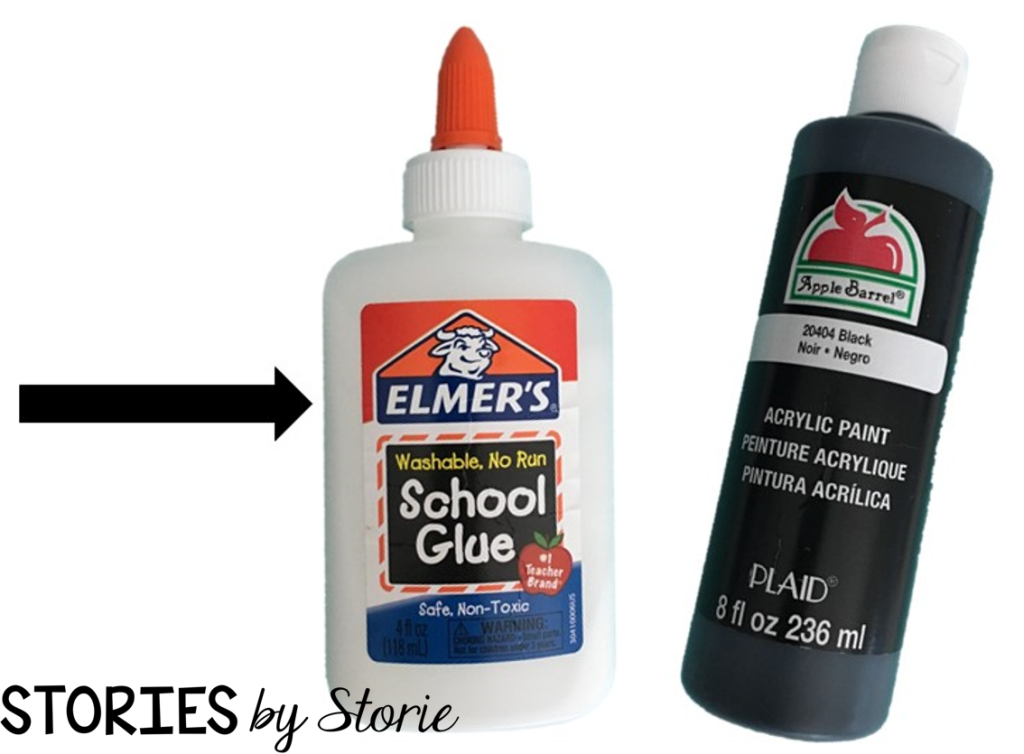
First, we had to gather the supplies:
- Elmer’s glue (about 2/3 full)
- black acrylic paint
- white paper
- pencil
- watercolor paints + water
So I took my used bottle of Elmer’s glue, which was about 2/3 full at the time. I took the top off, poured a bunch of the black acrylic paint in it, put the lid back on, and shook it up.
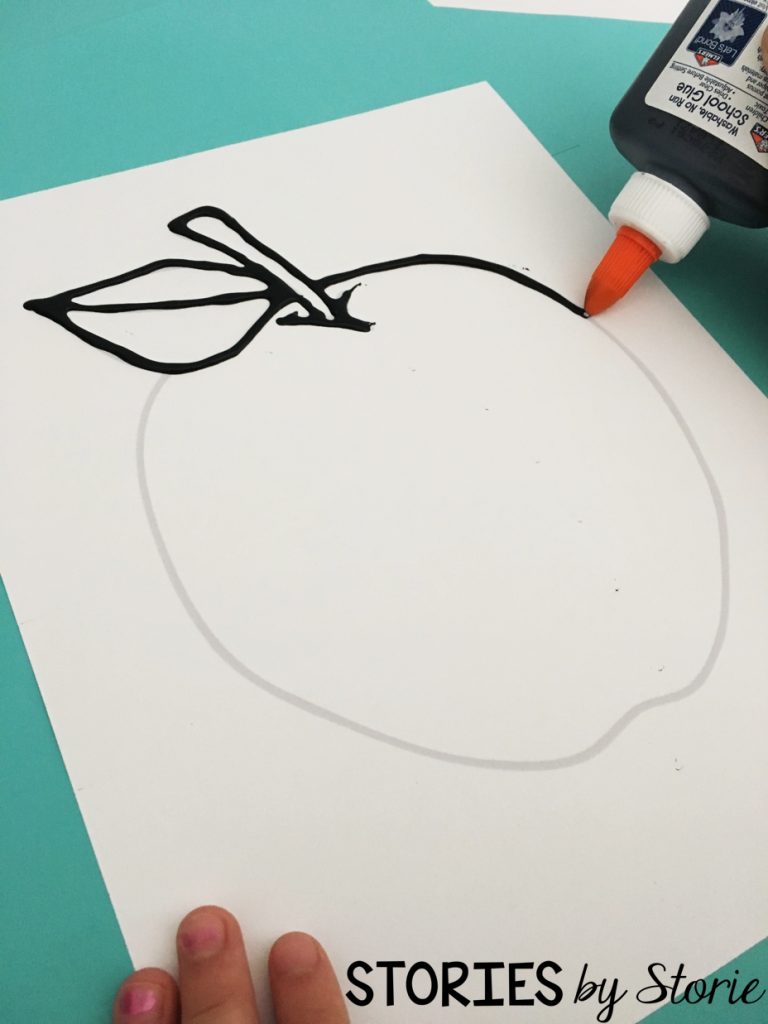
This is what the glue looked like after shaking. It looks more gray than black. I suggest you test it out a little bit on a piece of scrap paper to make sure the glue is coming out black.

Next, it’s time to pick your design. You can either sketch out a drawing with pencil, print out a design, or just freehand your picture. I recommend very simple designs for young children. Take your black glue and outline the picture. Once you’re done, set them aside to dry. We made this a 2-day project and let the glue dry overnight.
When the glue is dry, it’s time to grab your watercolor paints and get started.
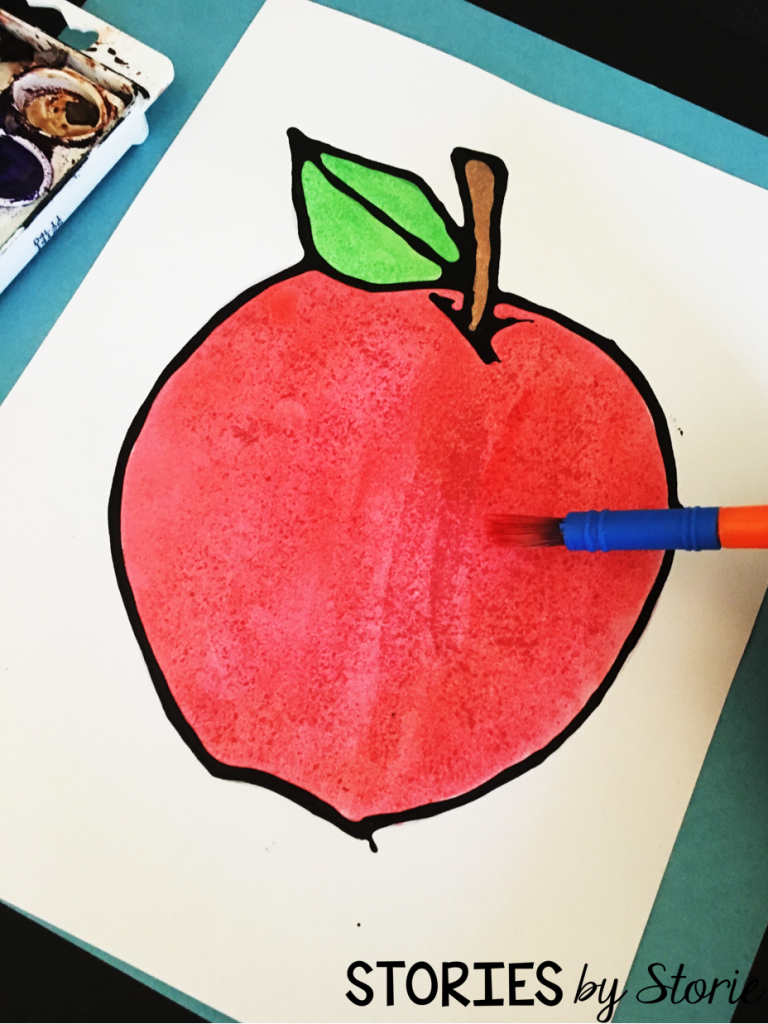
The black glue will act as a border and keep most of the watercolors in place.
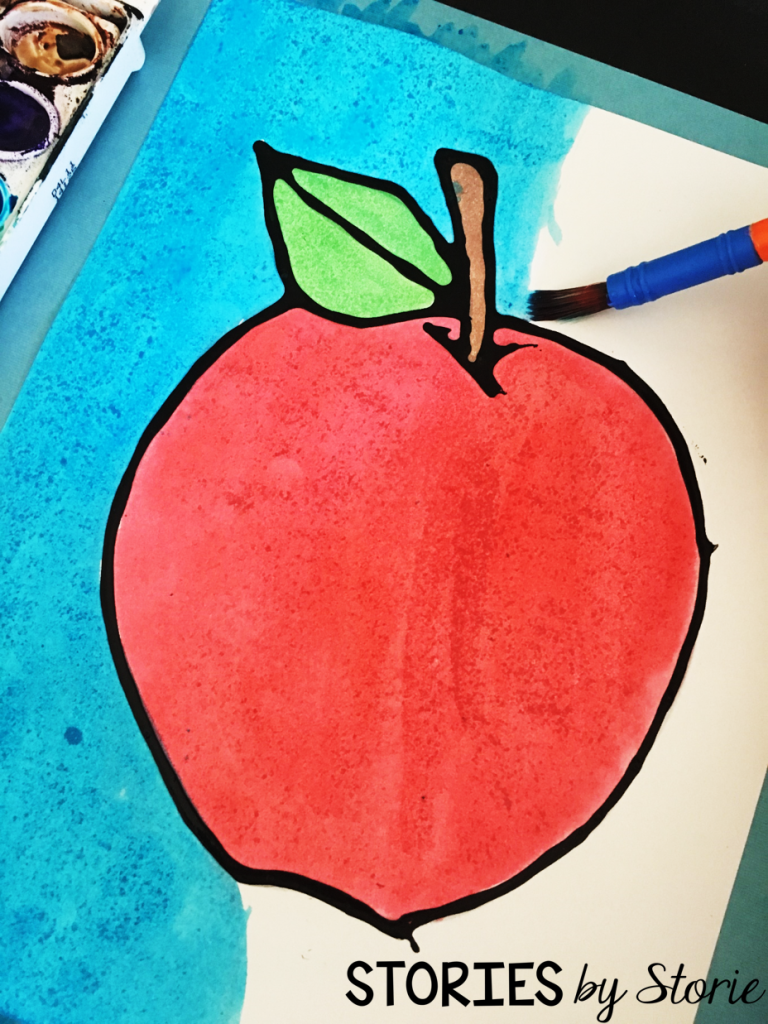
When you’re finished, you can put them on display.

In addition to the apple, my daughter made this butterfly:
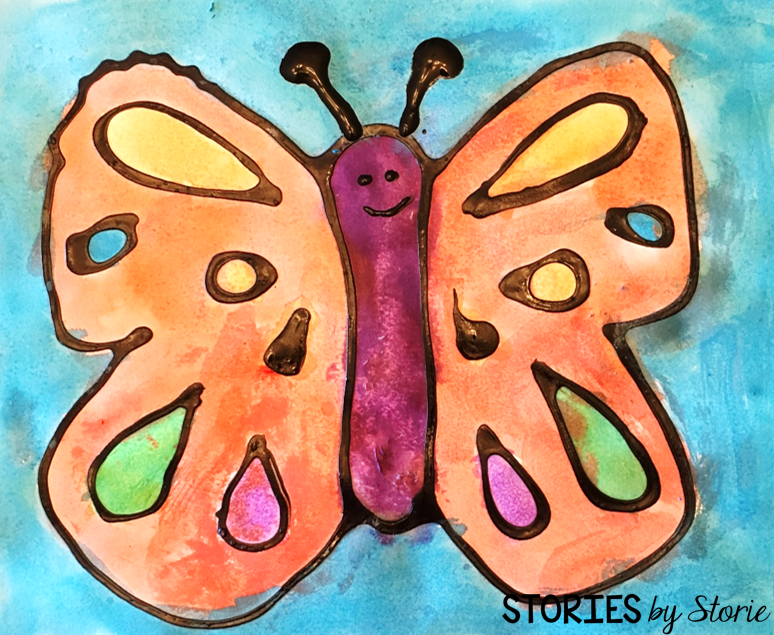
My son painted this fish:
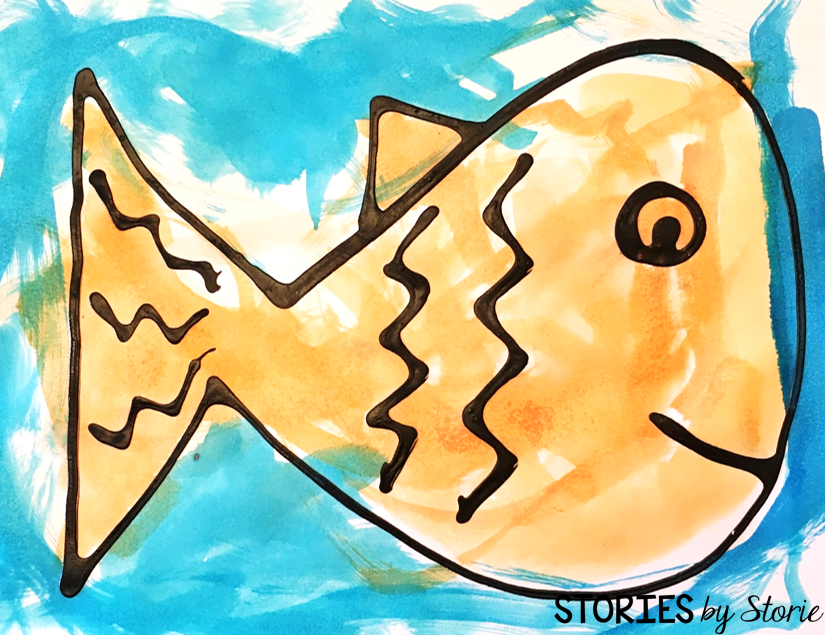
I hope you’ll give black glue a try with your students.
You might also like:
Happy Teaching!