Looking for a new art project to try with your students? These sunset silhouettes are not only eye-catching, but are pretty easy to do.
SUNSET SILHOUETTE ART PROJECT
A few years ago I was in a bookstore when a book cover caught my eye:

The Day the Babies Crawled Away by Peggy Rathmann
I should mention that it caught my eye for the illustrations, not the content. In fact, I don’t think I have ever read the book aloud to my class.
Instead, I use the book to show examples of how effective a black silhouette can be on a watercolor background.
First, we look at the illustrations. We talk about the different colors they see in the backgrounds, how the silhouettes have a good balance of being high and low on the page so the background has a chance to shine through.
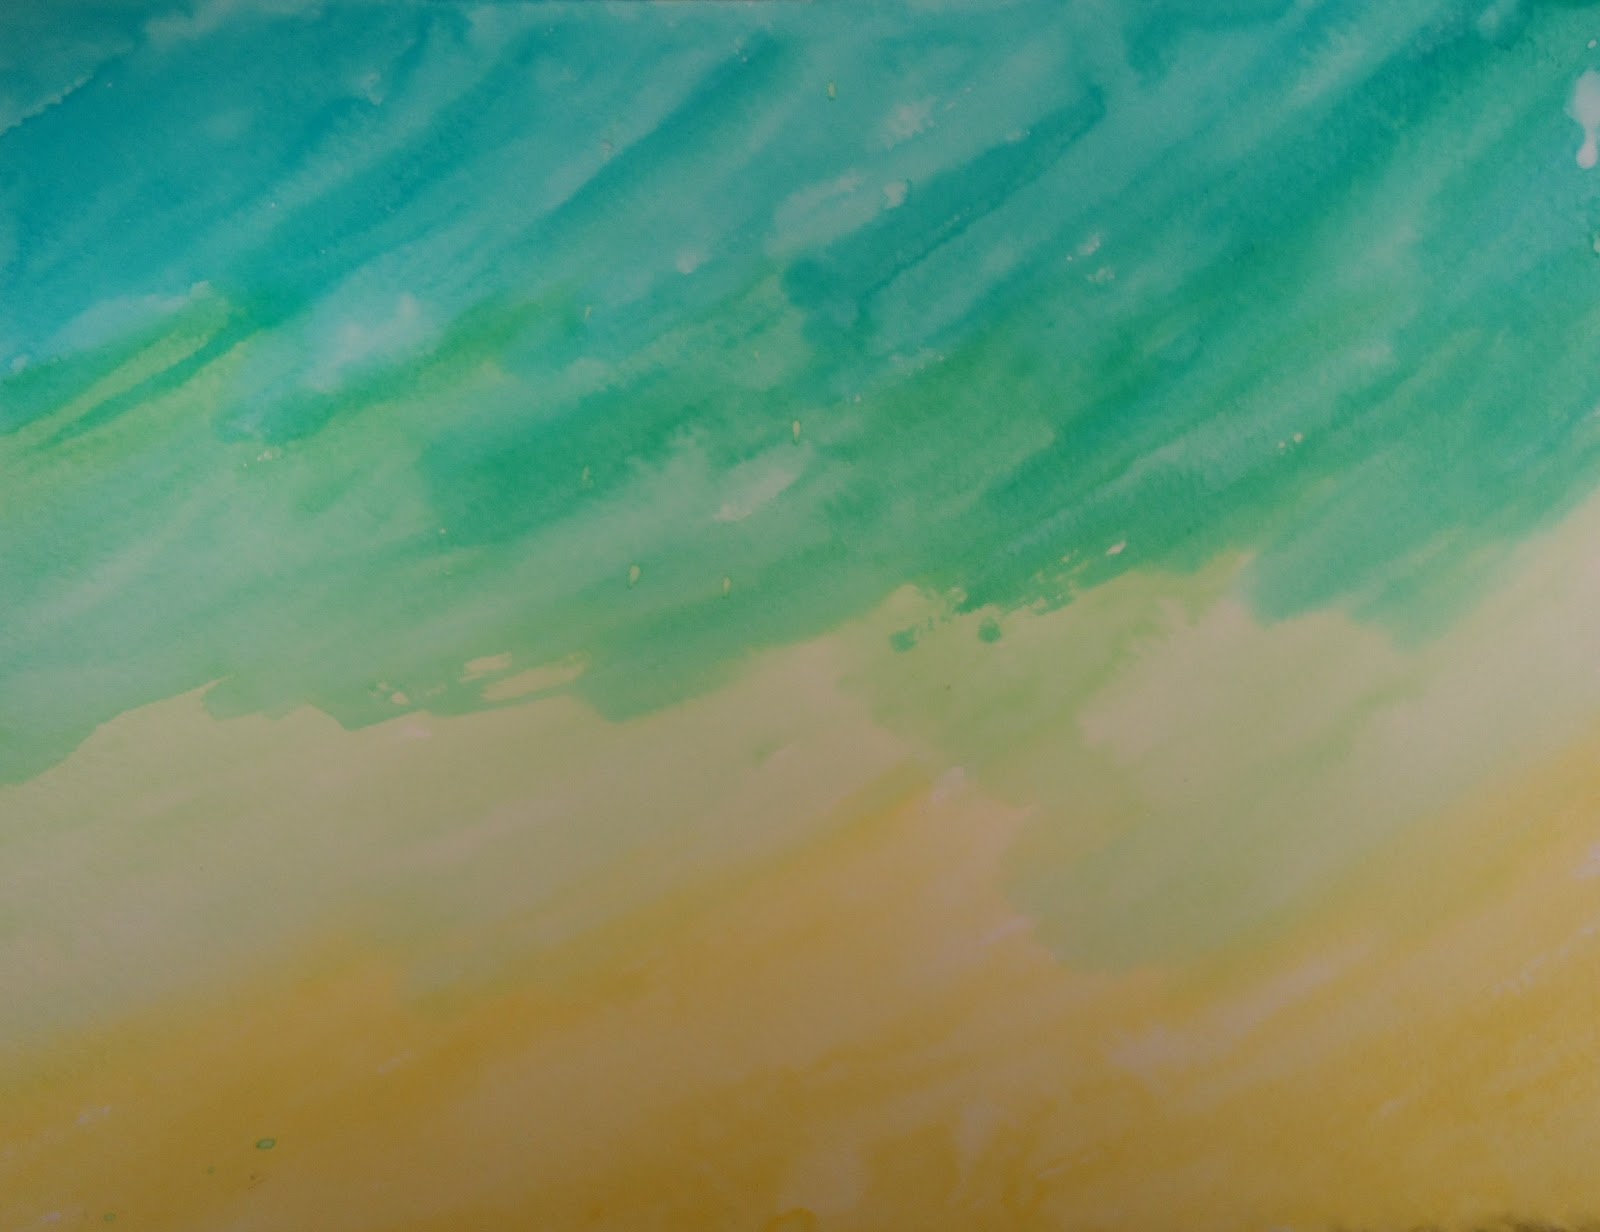
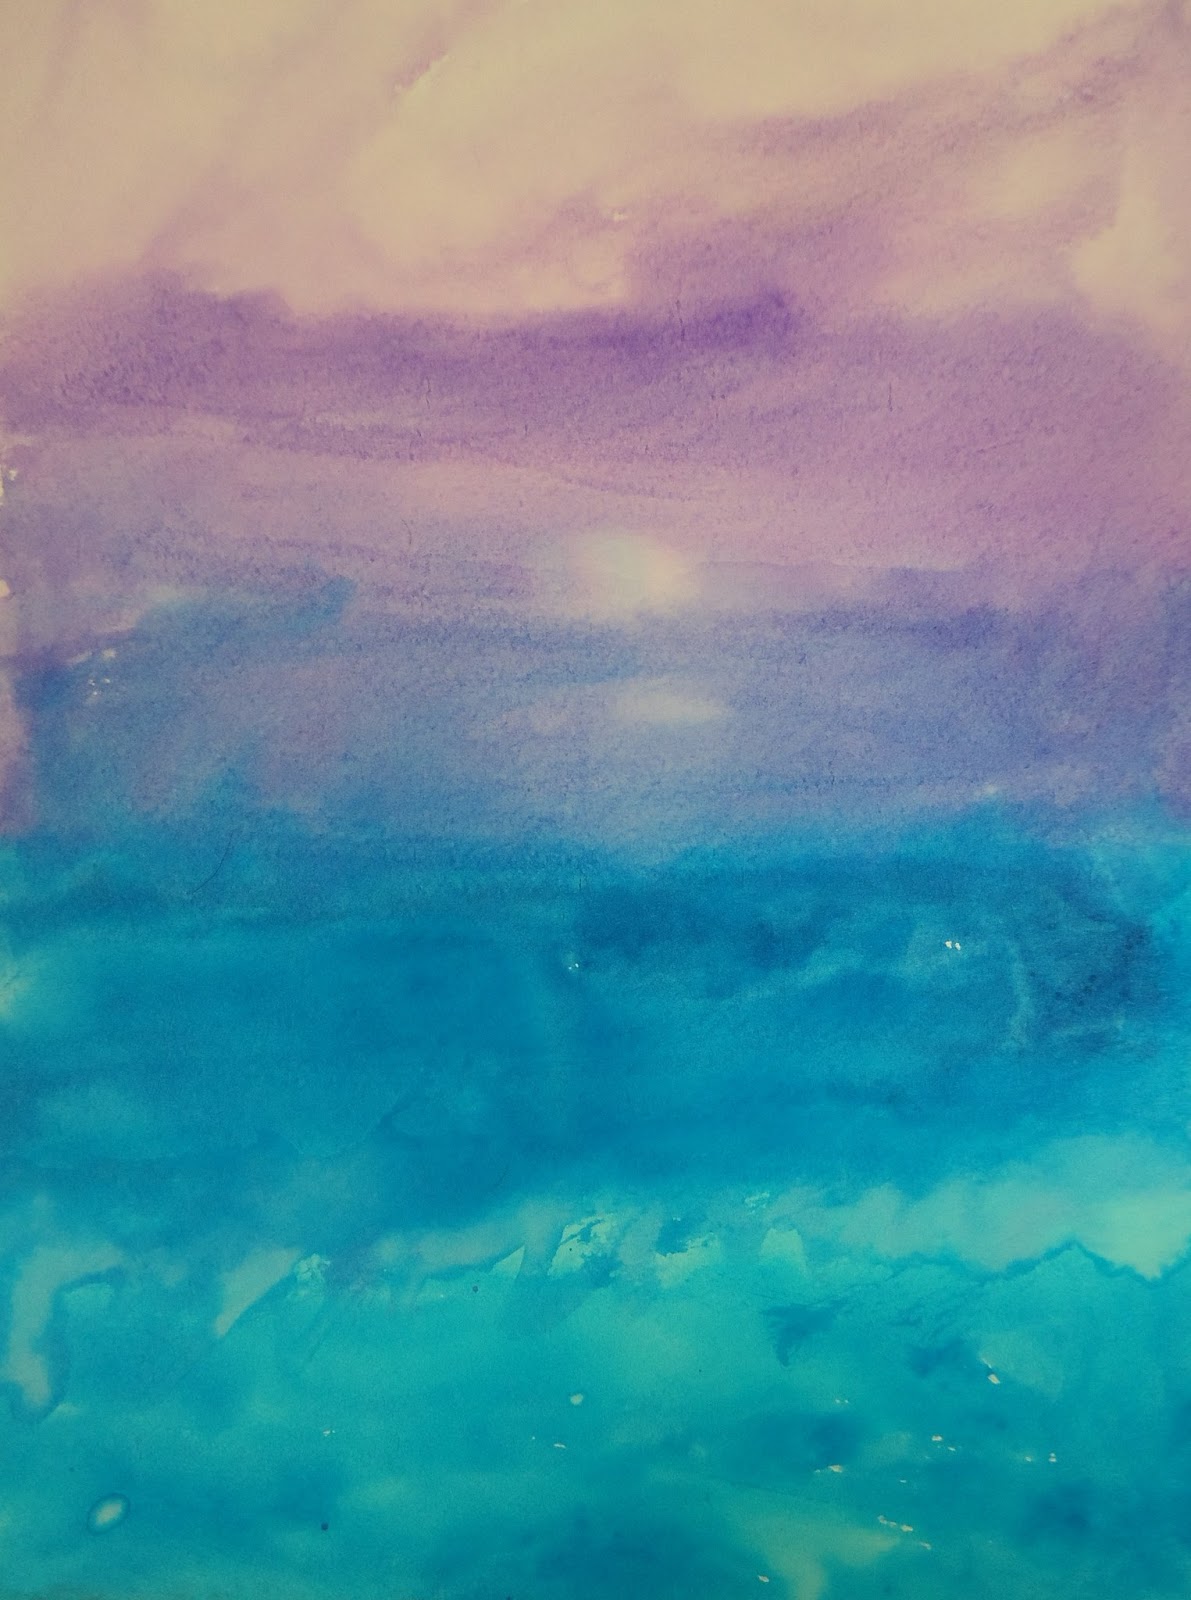
Next, I have my students do is create a background using watercolors:

Then, we talk about how a silhouette is just like a shadow. It doesn’t show all of the details. It only shows the outline of different shapes.
We also talk about how a good balance of high, medium, and low pictures really shows off your background the best.
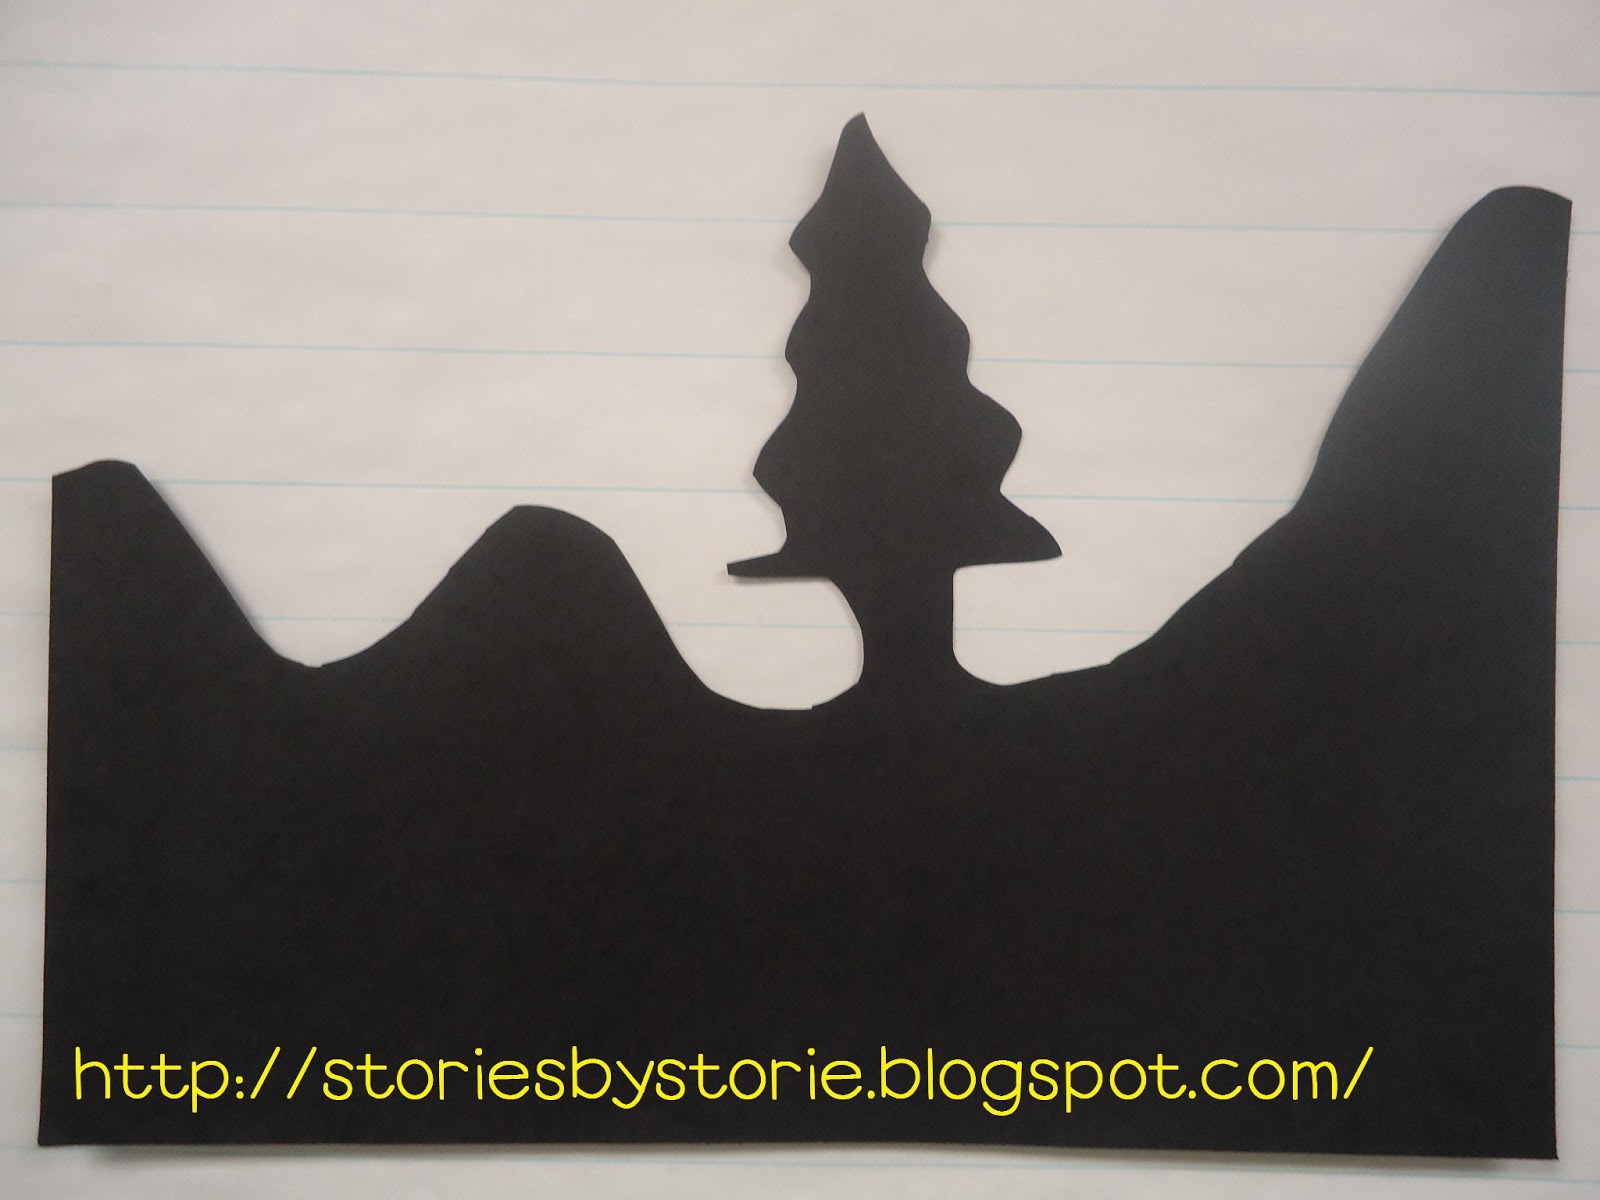
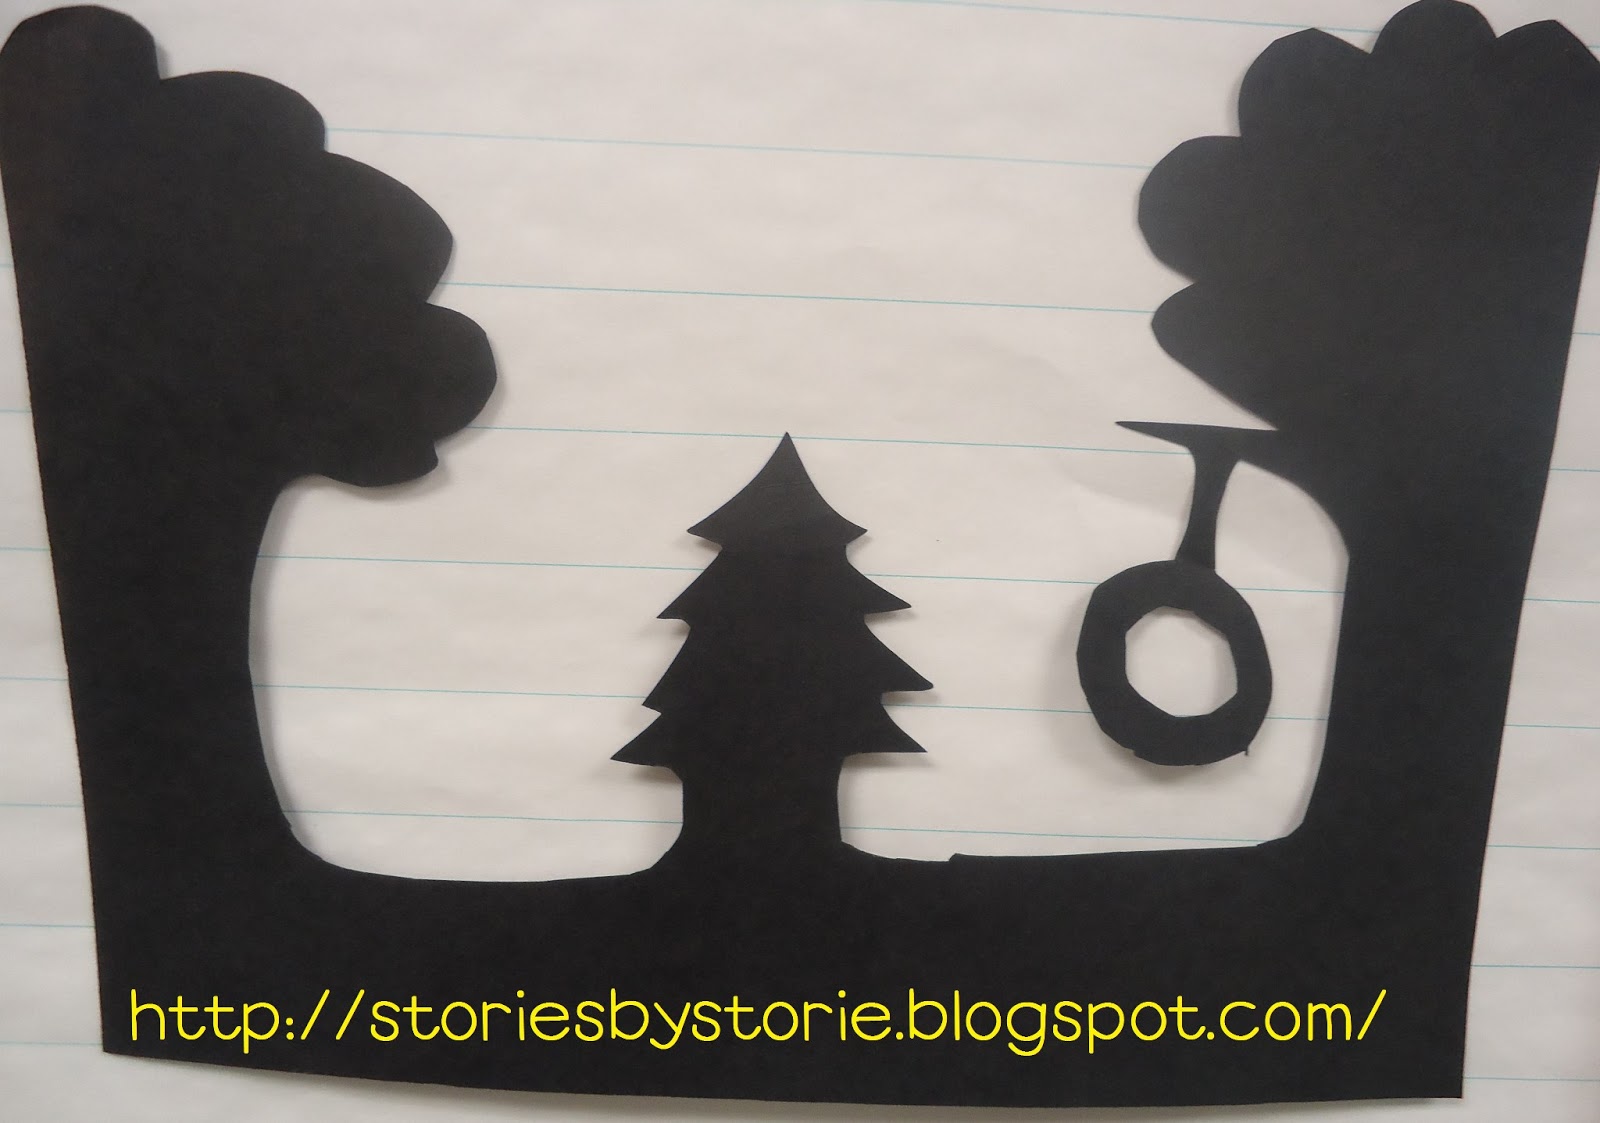
After that, I show them how to draw a few different types of pictures on paper to see how they will turn out:

I have the students draw their picture on black construction paper using pencil. Once their drawings are approved, I trace the lines using a silver Sharpie marker. Then, students cut it out and the silhouettes are ready to be glued down to their watercolor paper.
Here are some final projects from my little artists:

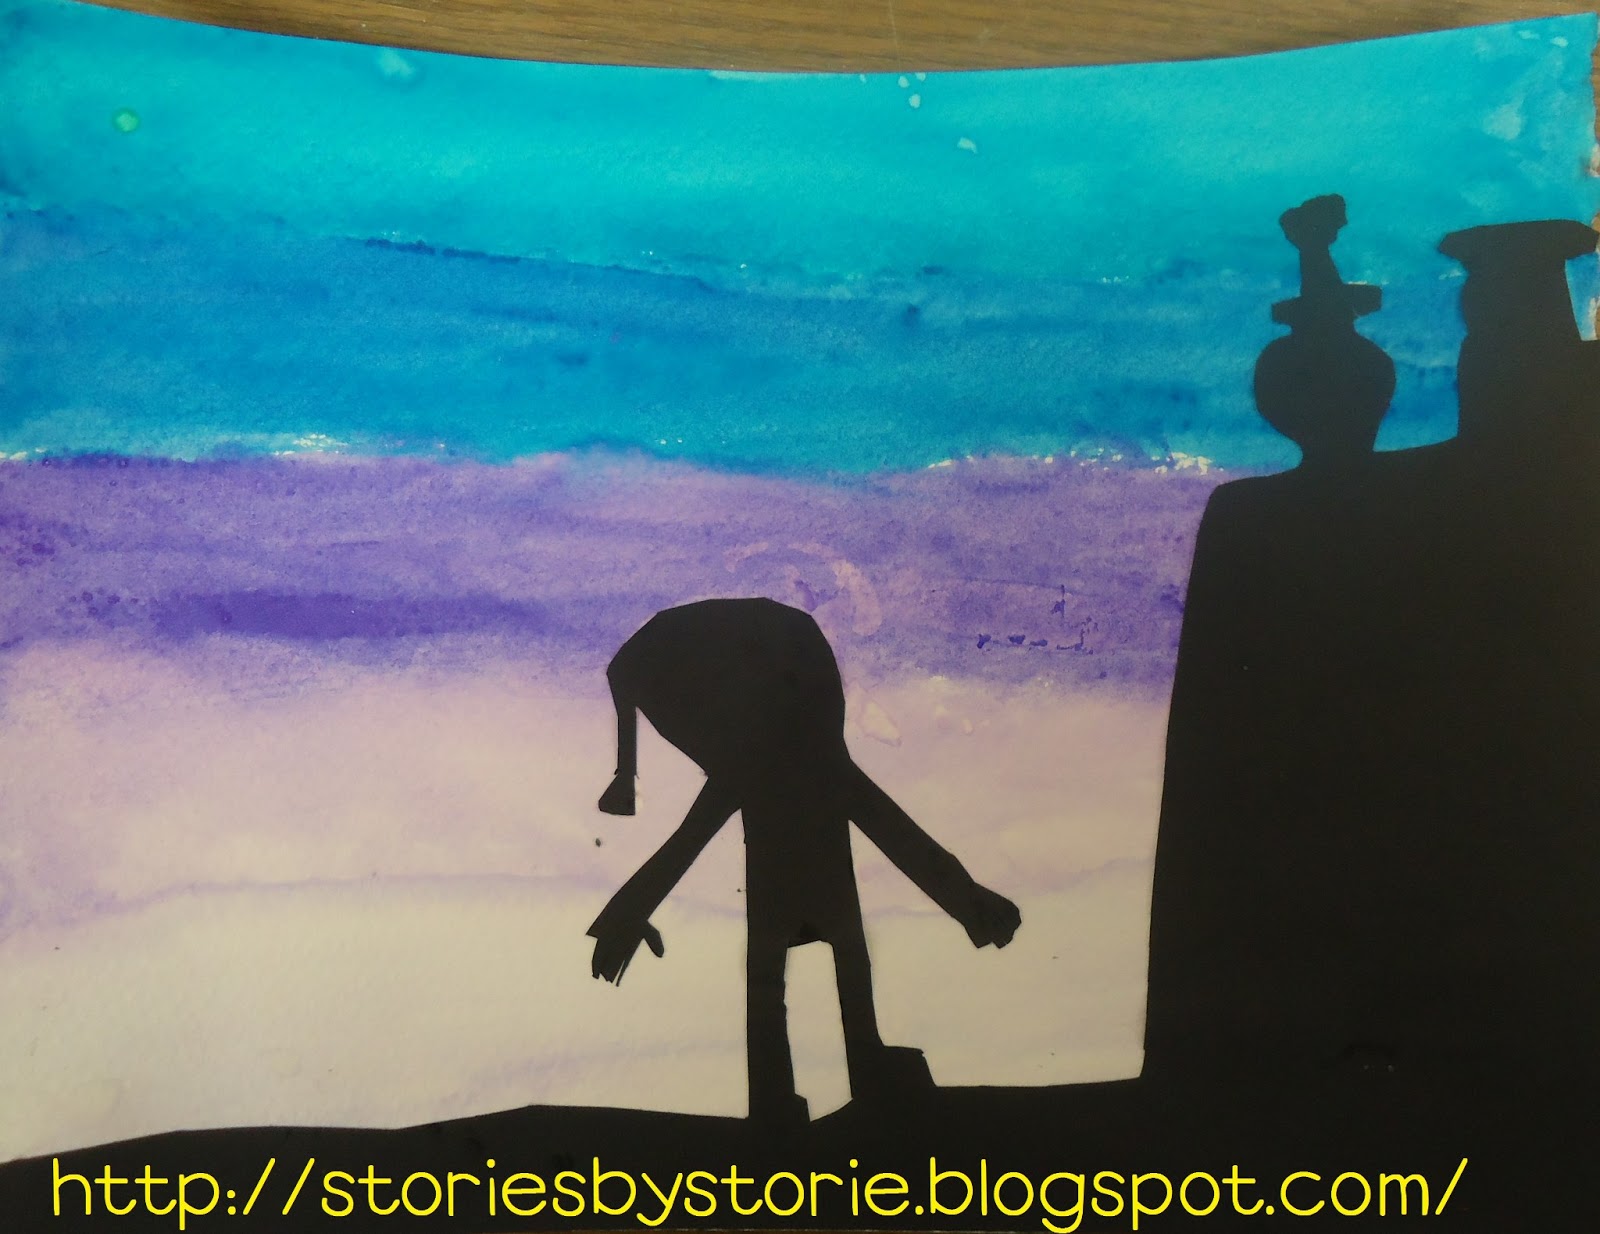
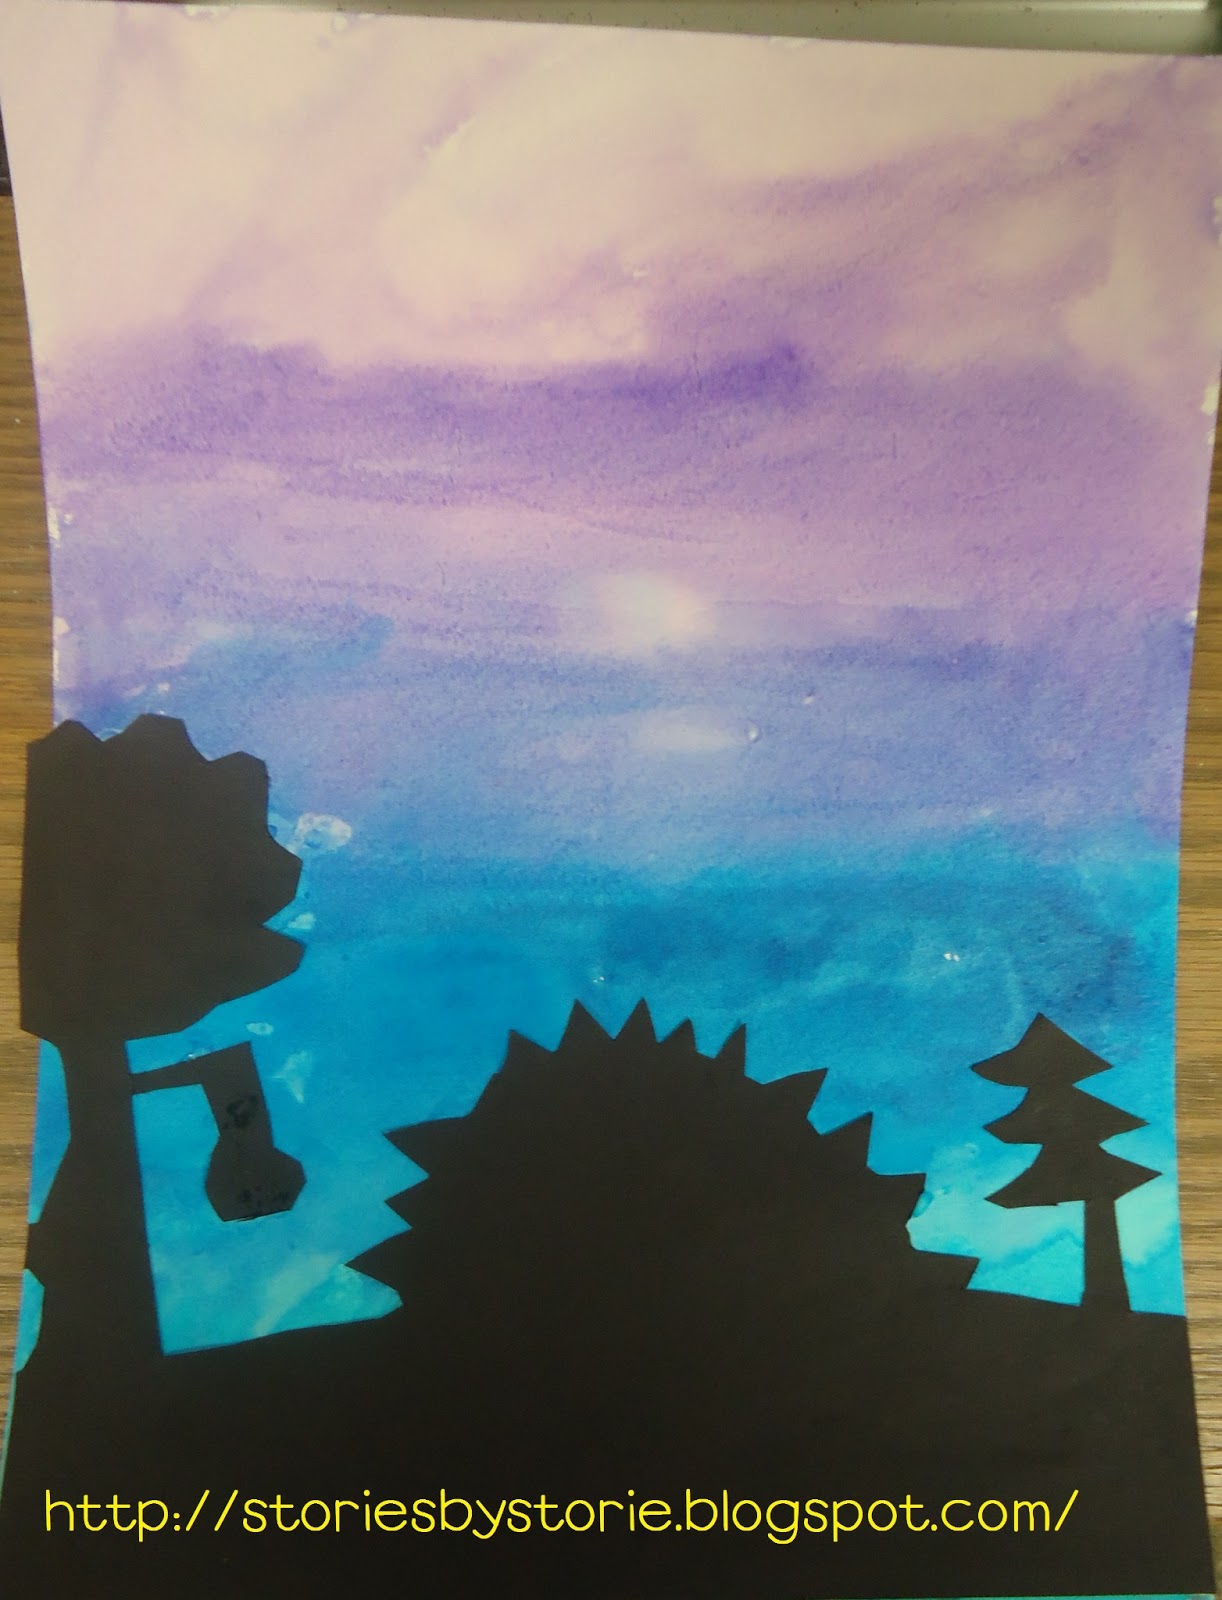

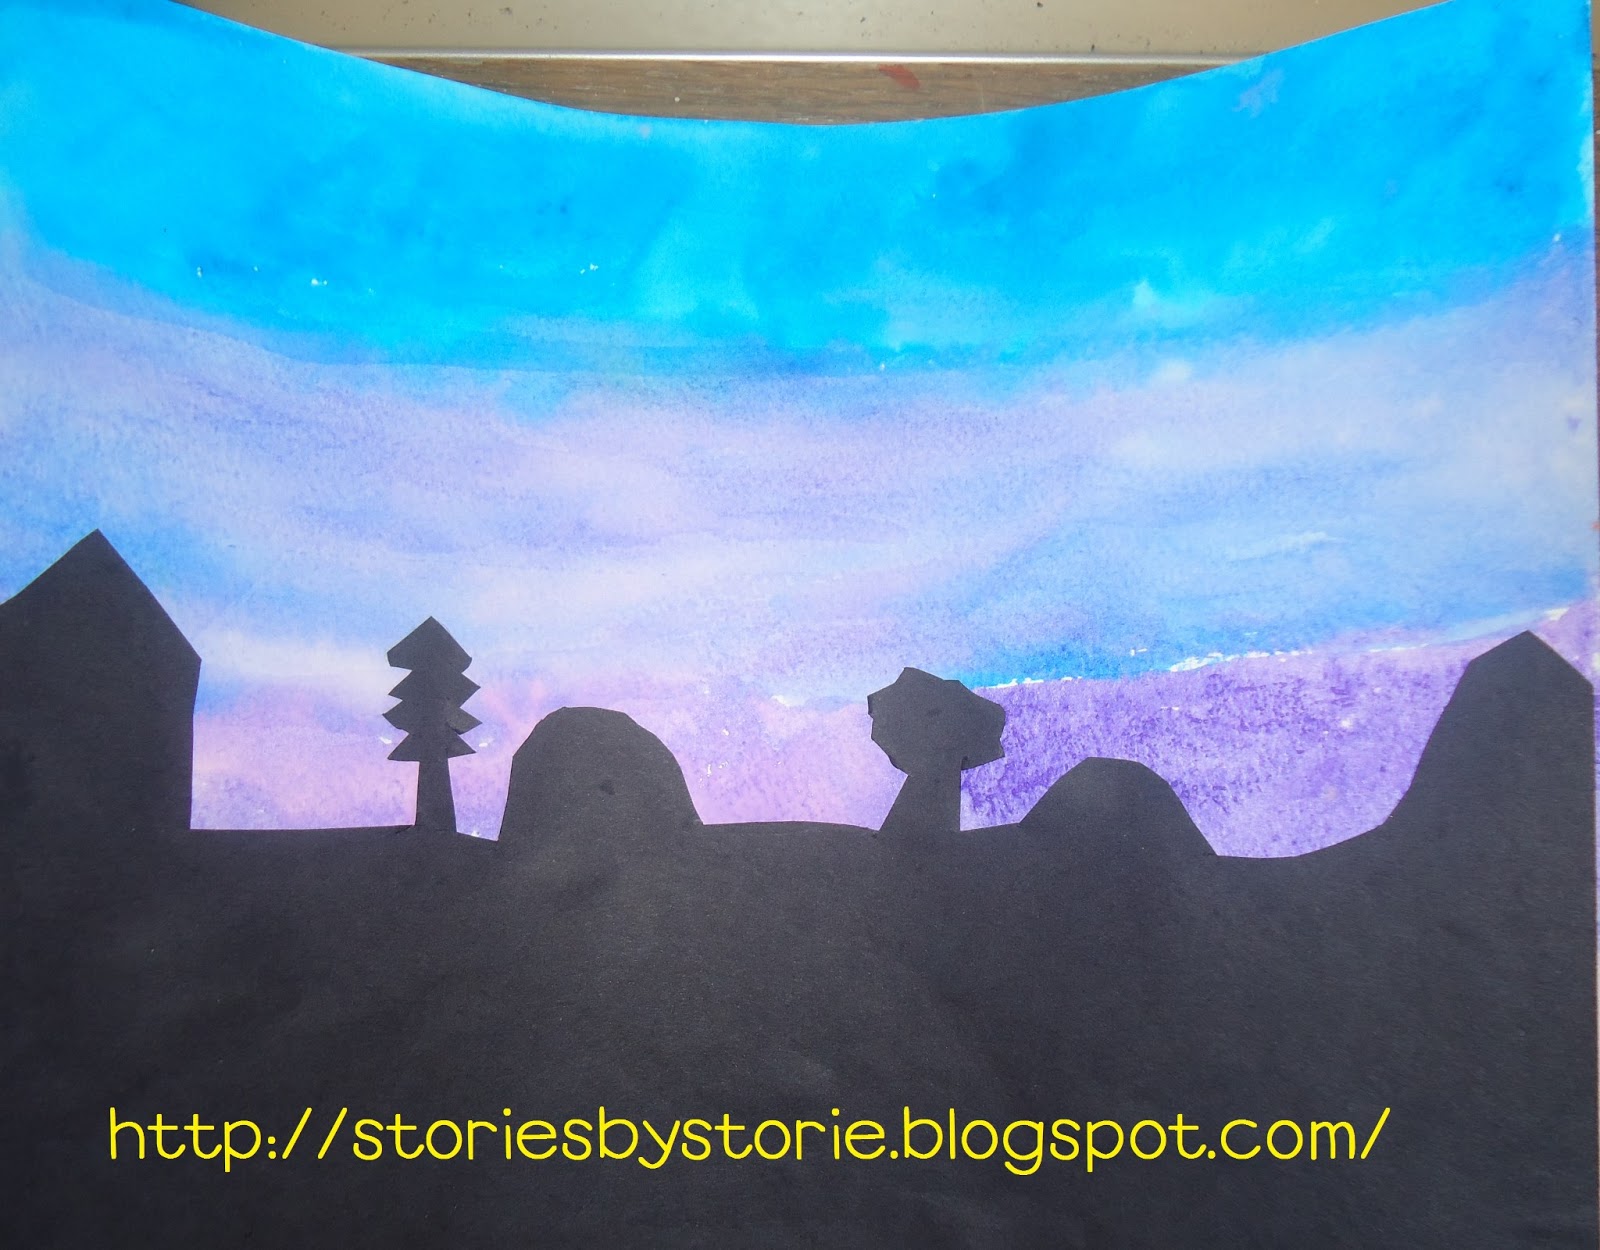


The kids always act surprised when their silhouette is glued down. It’s like magic to them to see just how it will look in the end!
I hope this inspires your artists to try sunset silhouettes, too!


Their projects are SO pretty!
Angela 🙂
Hippo Hooray for Second Grade!
We always do this at the end of the year with a beach silhouette. They do turn out nice. I never thought to do them with other pictures. Thanks for sharing!
Teachin' First
Those are great and very creative too!
❀ Tammy
Forever in First